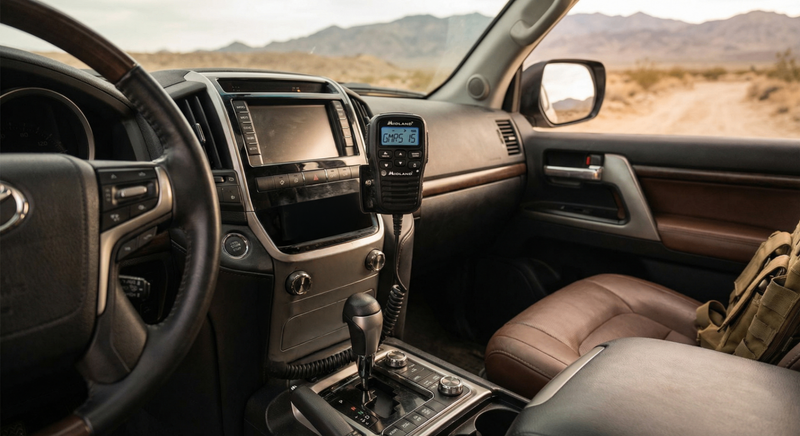

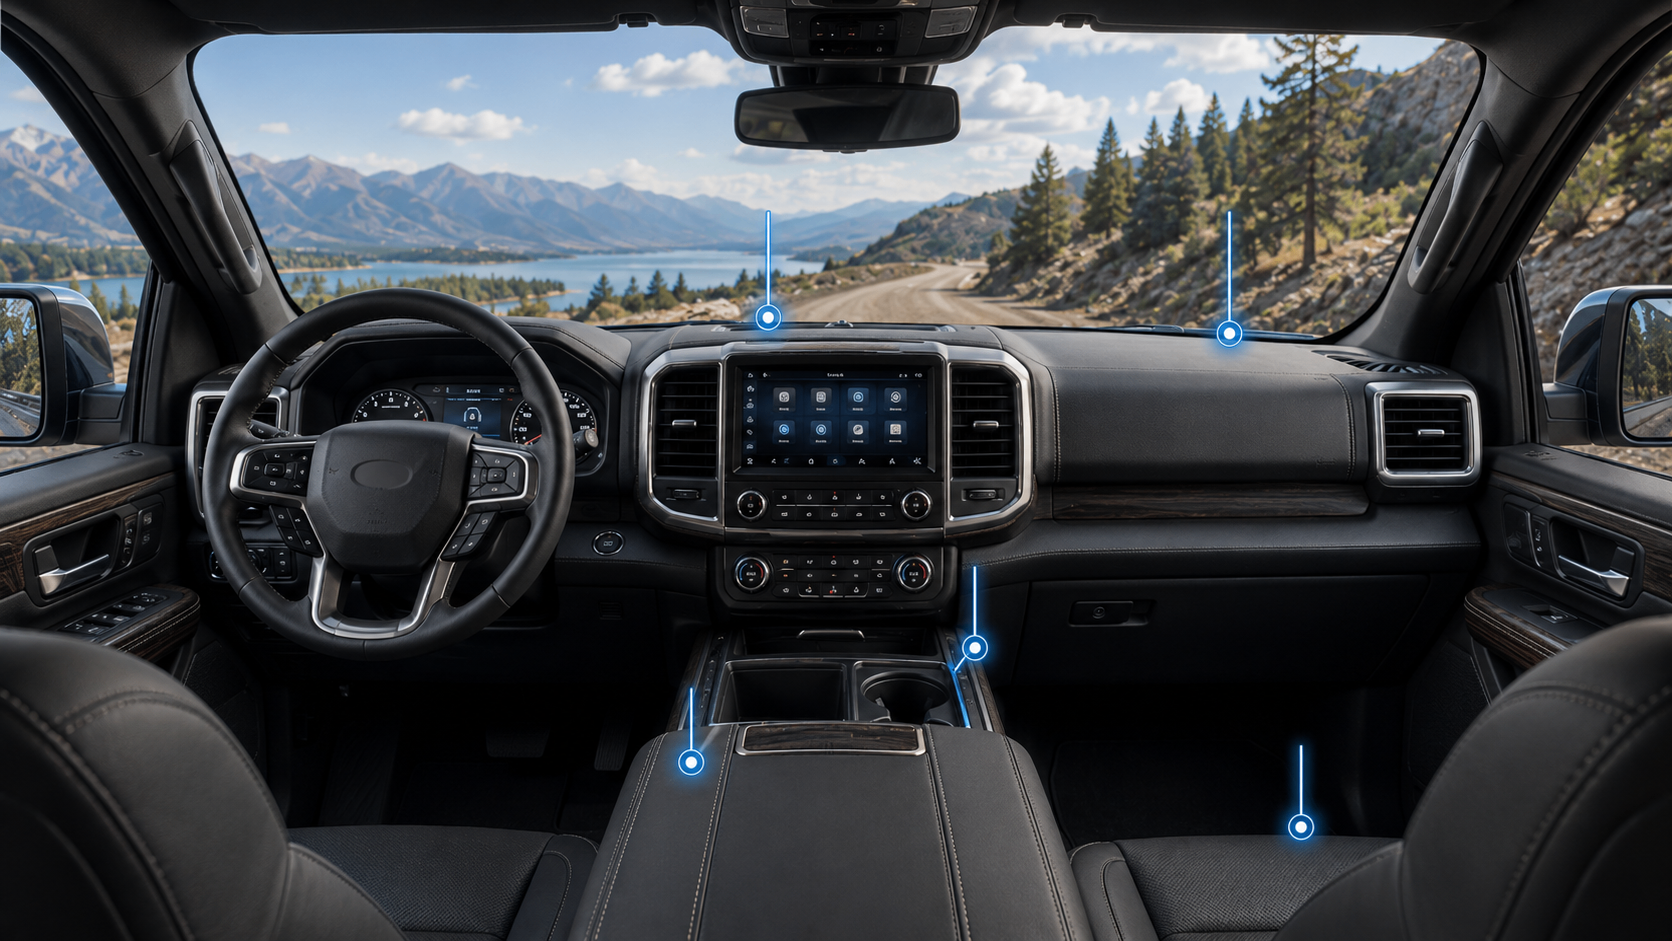
Modern vehicle interiors pose a major challenge for radio installations: tight dashboards, curved trim, minimal flat surfaces, and critical safety zones like airbag deployment paths mean traditional under-dash mounting rarely works out of the box.
Whether you are equipping a daily sedan, an overlanding rig, or a fleet work truck, picking the right mount is what keeps your setup clean, secure, and accessible while on the road.
Matching Mounting Hardware To Radio Specs
Before choosing mounting hardware, evaluate the radio’s physical layout, dimensions, weight, ventilation requirements, and manufacturer-approved mounting options. Mobile transceivers commonly use either a remote-control configuration or a one-piece chassis, although some models offer multiple installation arrangements. Matching the mount to the specific radio and vehicle location helps conserve cabin space and reduces vibration, cable-routing problems, and installation rework.
Remote-head radios separate the control panel from the main transceiver body. The larger radio chassis can be mounted under a seat, inside a console, behind interior trim, or in a cargo area, provided the location offers adequate ventilation, protection, and access for servicing.
A separation cable connects the transceiver to the lighter control head, which can be mounted within the driver’s reach. This setup reduces dashboard clutter but may still require routing power, antenna, microphone, speaker, and accessory wiring.
Full-body radios combine the controls, display, and transceiver electronics in one housing. Because the complete unit is mounted in the cab, it requires a sturdy bracket that can support its weight and withstand vibration, braking, and rough-road movement.
Use the manufacturer’s recommended bracket and fasteners on a structurally suitable surface. Bolted mounting is often the best choice for heavier radios or demanding driving conditions.
Remote-speaker-microphone radios integrate the display, keypad, channel selector, speaker, and microphone directly into a single handheld unit. This design allows the main transceiver chassis to be concealed out of sight, maximizing cabin space while keeping all controls directly in the operator’s hand.
Mounting focuses on placing the microphone hanger or magnetic mount within easy reach without obstructing driving controls or sightlines. Route the microphone extension cord to allow a full range of motion while providing strain relief to prevent wear on the connection jack.
Selecting the Right Hardware
Every vehicle presents different mounting points, interior dimensions, and installation constraints. Choose a mount that supports the radio’s size and weight while keeping it accessible and clear of airbags, controls, vents, seat movement, and the driver’s field of view. Below are some common mounting types.
| Seat-Rail Mounts | ||
|---|---|---|
| Best Suited For | Key Advantages | Potential Limitations |
| Sedans, crossovers, daily drivers, and leases where drilling is undesirable. |
|
|
| Ball-and-Socket Mounts | ||
| Best Suited For | Key Advantages | Potential Limitations |
| Trucks, SUVs, off-road rigs, and custom builds requiring frequent adjustment. |
|
|
| Dash-Track & Pod Mounts | ||
| Best Suited For | Key Advantages | Potential Limitations |
| Pickups, Jeeps, and popular platforms with model-specific accessories. |
|
|
| Cupholder Mounts | ||
| Best Suited For | Key Advantages | Potential Limitations |
| Rental cars, fleet rotations, temporary setups, or quick swap-outs. |
|
|
| Vehicle Consoles | ||
| Best Suited For | Key Advantages | Potential Limitations |
| Public safety (police/EMS), utility fleets, and heavy-duty work vehicles. |
|
|
Three Factors for Installation Safety and Longevity
A reliable radio installation involves more than finding a convenient mounting location. Airbag clearance, heat management, secure hardware, and proper cable support all affect passenger safety and long-term equipment performance.
Do not mount equipment or route loose wiring through an airbag deployment zone. Depending on the vehicle, side-curtain airbags may deploy from the roof rail, headliner, pillars, doors, or seats, while frontal airbags deploy outward from the steering wheel and dashboard.
Consult the vehicle owner’s manual, service information, or upfitter guide before mounting equipment near the dashboard, pillars, seats, or headliner. Route and secure cables so they cannot interfere with airbags, seat movement, pedals, controls, or other safety systems. Keep radio wiring separated from airbag circuits, control modules, and sensitive vehicle wiring where required.
Mobile transceivers can generate considerable heat during extended or frequent transmissions. When mounting the radio body under a seat, behind trim, or inside a console:
- Follow the manufacturer’s required clearance and ventilation instructions.
- Keep heat sinks and cooling fans unobstructed.
- Avoid pressing the radio directly into thick carpeting or insulation.
- Use the supplied bracket or a suitable mounting tray to maintain airflow.
- Keep the unit away from heater ducts, moisture, and locations exposed to excessive cabin heat.
Required spacing varies by radio, so a fixed clearance should not replace the manufacturer’s installation guidance.
Vehicle vibration can loosen fasteners and fatigue unsupported wiring. Use the mounting hardware and retention method specified by the radio or bracket manufacturer. Where appropriate, this may include lock washers, locking nuts, or a compatible removable thread locker on metal fasteners.
Secure control and microphone cables near their connection points while leaving a small service loop. Do not pull cables tight or overtighten zip ties, and avoid routing them across sharp edges or moving components. Proper strain relief reduces stress on cable conductors, plugs, retaining clips, and equipment sockets.
Field Tip: Before permanently mounting a control head, check display visibility from the normal driving position in daylight and while wearing your usual sunglasses. Polarized lenses can make some LCD displays appear dark or unreadable at certain viewing angles.