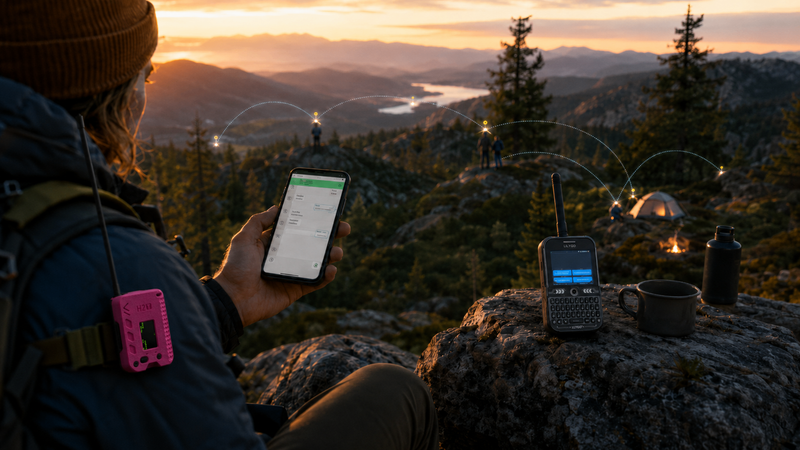
When the power goes out and the “No Service” indicator appears on your smartphone, your household’s safety depends on a disciplined communications plan. In a 72-hour emergency scenario, you aren’t just a radio user—you are your own service provider.
This checklist, designed for the WAVEGUIDE™ community, ensures that your gear, power, and protocols are ready for the first three days of any “Grid-Down” event.
Power & Redundancy
Without a plan for juice, your high-end handheld is just a paperweight by hour twelve.
-
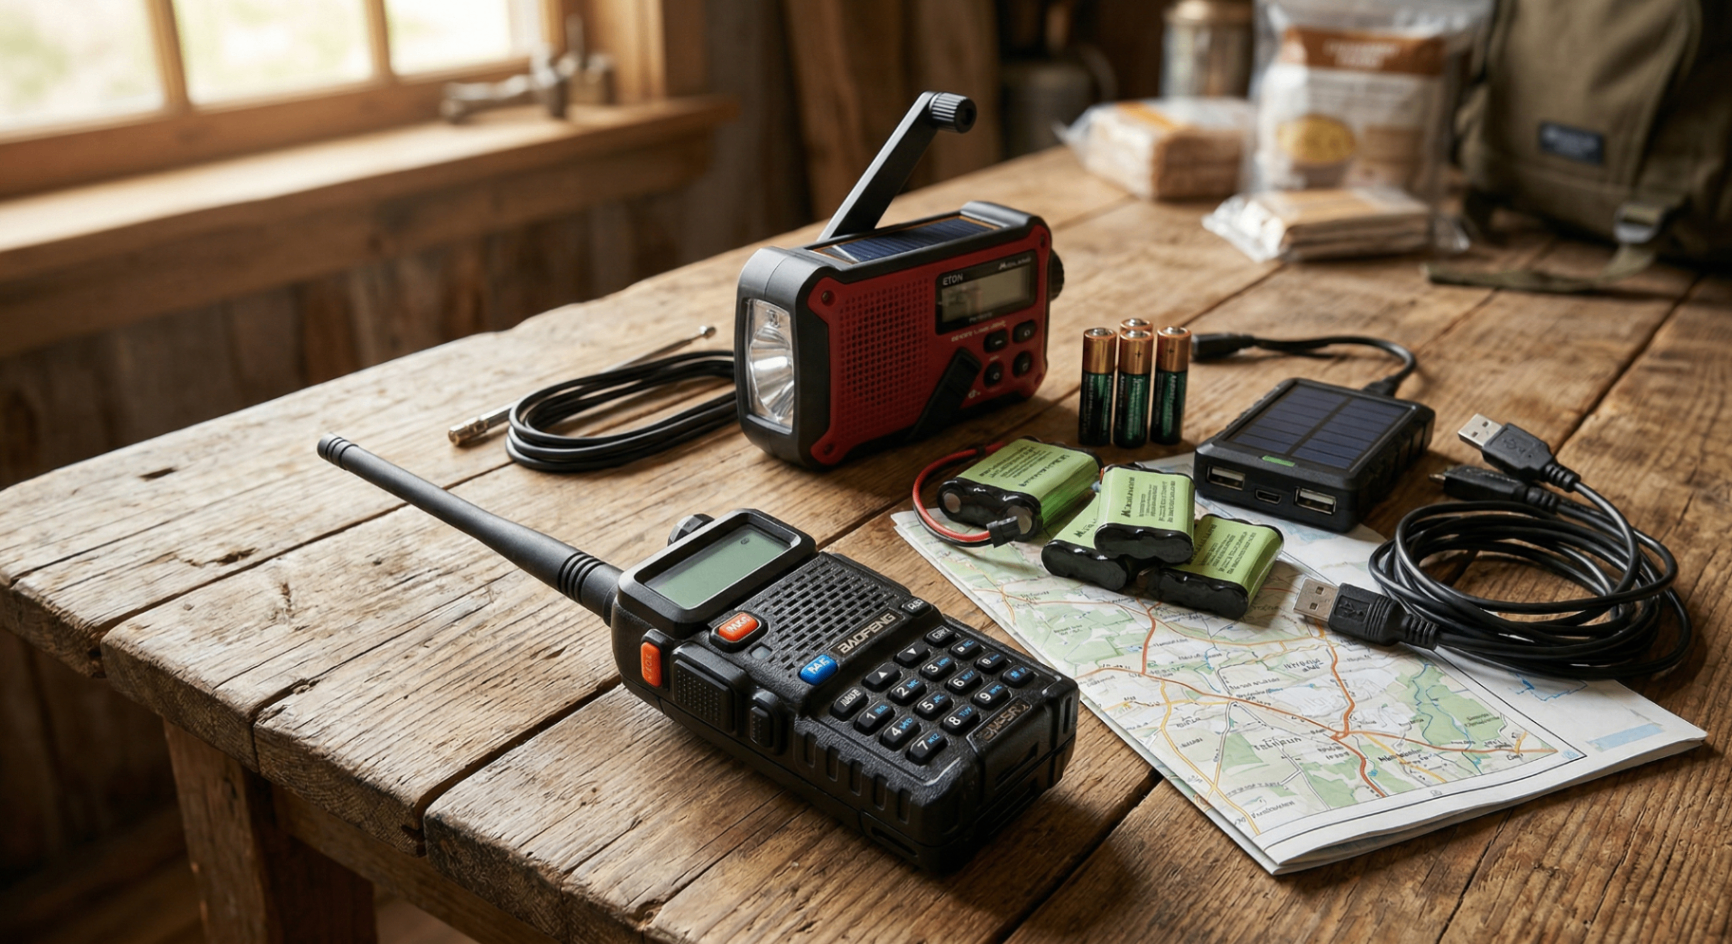
Primary Battery Rotation: Ensure all HT (Handheld Transceiver) batteries are at 100% charge. Store a minimum of one spare high-capacity battery per radio.
-
DC Power Adapters: Verify you have “Battery Eliminators” for your handhelds to run them directly off a vehicle’s 12V cigarette lighter port.
-
Solar & Power Banks: Maintain a portable power station (at least 200Wh) and a foldable solar array. In a 72-hour window, you should be able to recharge your fleet at least twice.
-
AA Alkaline Backups: If your radios support AA battery shells (like many Midland or Wouxun units), keep a fresh 24-pack of alkalines in your kit as the ultimate “Plan C.”
The most sophisticated handheld transceiver (HT) on the market is nothing more than a polymer paperweight once the “low battery” chirp begins. In a grid-down event, your primary enemy isn’t the distance—it’s the clock. To survive the first 72 hours, you must adopt a tiered power strategy.
This begins with Primary Battery Rotation. Never rely on the single battery attached to your unit; a minimum of one high-capacity spare per radio is the baseline. However, true redundancy means looking beyond the wall outlet. This is where Battery Eliminators become vital. These specialized adapters replace the battery pack entirely, allowing you to “eliminate” the need for internal power by drawing directly from a vehicle’s 12V cigarette lighter or a deep-cycle battery.
For long-term sustainability, a portable power station (at least 200Wh) paired with a foldable solar array ensures you can recharge your fleet at least twice. As an ultimate “Plan C,” radios that support AA alkaline shells provide a fail-safe that doesn’t depend on the sun or a running engine.
The Band Plan
Coordination is impossible if everyone is scanning. Establish a hierarchy of frequencies.
-
The Family Channel (GMRS/FRS): Designate a primary GMRS channel for local household coordination (e.g., Channel 15 for high-power output).
-
The “Check-In” Window: Establish a protocol where radios are turned ON for the first 10 minutes of every hour to conserve power while maintaining a schedule.
-
Local Repeaters: Program your local GMRS and Amateur repeaters into your “Emergency” zone. Note that repeaters may have battery backups, but they can fail; always have a Simplex alternative.
-
The Monitoring Tier: Use a dedicated scanner or a dual-watch radio to monitor:
-
NOAA Weather Radio: For official updates.
-
Local EMS/Fire: To track the scope of the emergency.
-
National Calling Frequencies: 146.520 MHz (2m) or 446.000 MHz (70cm).
Coordination is impossible if your household is aimlessly scanning through hundreds of channels. A disciplined Band Plan establishes a hierarchy of frequencies, ensuring everyone knows where to be and when to listen.
Your “Family Channel” should be a designated GMRS or FRS frequency—such as Channel 15 for high-power output—serving as the primary tactical loop. To prevent your batteries from draining during quiet periods, implement a “Check-In” Window. This protocol mandates that radios are only turned on for the first 10 minutes of every hour unless an emergency is in progress.
While local GMRS and Amateur repeaters are powerful tools, they are vulnerable. Always have a Simplex (radio-to-radio) alternative programmed in case the repeater’s backup power fails. Finally, maintain a “Monitoring Tier” using a dual-watch radio to keep one ear on the family and the other on NOAA weather alerts or local EMS/Fire dispatch to track the scope of the unfolding crisis.
Hardware & Deployment
A radio is only as good as its antenna’s line-of-sight.
-
Antenna Elevation: For a base station or “Go-Kit,” have a roll-up J-pole or a magnetic mount antenna ready to stick on a cookie sheet or a vehicle roof. Elevation is the cheapest way to double your range.
-
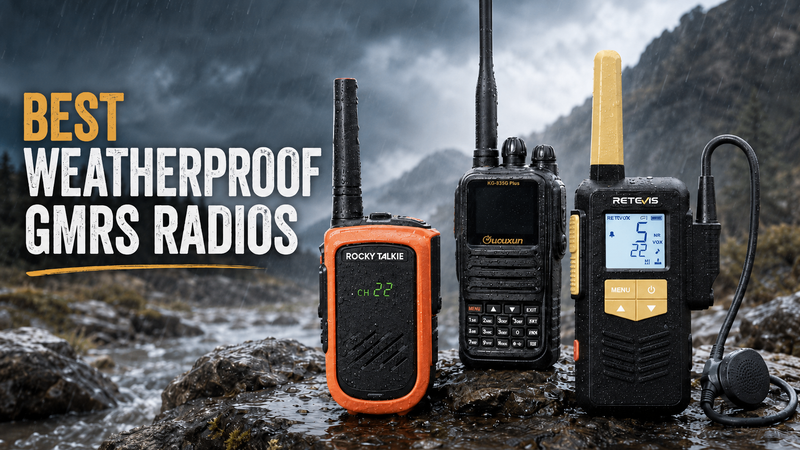
Waterproofing: Ensure all radios are in IP67-rated bags or cases. If your radio isn’t waterproof, a simple heavy-duty Ziploc bag can save your comms in a storm.
-
The “Cheat Sheet”: Laminate a small card containing your family’s callsigns, the agreed-upon primary/secondary channels, and your “Tactical” brevity codes.
A radio is only as effective as its antenna’s line-of-sight. Physics is a harsh mistress in an emergency; a $500 radio with a “rubber ducky” antenna at ground level will often be outperformed by a $50 radio with an elevated antenna.
Antenna Elevation is the most cost-effective way to double your range. For a base station or portable “Go-Kit,” utilize a roll-up J-pole or a magnetic mount antenna. Placing a magnetic antenna on a large metal surface, like a vehicle roof or even a simple cookie sheet, creates a ground plane that significantly boosts signal radiation.
Simultaneously, you must protect the hardware from the elements. While many modern radios claim IP67 ratings, a simple heavy-duty Ziploc bag is a cheap insurance policy that allows for full operation while shielding the circuitry from driving rain. To ensure clarity under stress, every radio should have a laminated “Cheat Sheet” clipped to it, containing family callsigns, primary channels, and tactical brevity codes to keep transmissions short and professional.
The Practice Drill
The middle of a hurricane is the wrong time to learn how to set a CTCSS tone.
-
Range Testing: Conduct a “Signal Check” from the furthest point your family members are likely to be (the grocery store, the school, the office). Know exactly where the dead zones are.
-
Silent Drills: Practice communicating without using names. Use “Tactical Callsigns” (e.g., Home Base to Mobile 1) to maintain a professional, disciplined net.
-
The 24-Hour Trial: Once a year, run your home comms entirely off-grid for 24 hours. You’ll quickly find the “weak links” in your cables, batteries, or logic.
The middle of a hurricane or a winter storm is the wrong time to learn how to navigate a sub-menu or program a CTCSS privacy tone. Mastery of your gear must be earned through Practice Drills conducted during “Blue Sky” days.
Start with Range Testing. Don’t guess how far your radios can reach; take them to the furthest points your family members frequent—the office, the school, or the grocery store. Identify the “dead zones” where geography blocks your signal so you know exactly where you need to move to regain contact.
Practice Silent Drills by communicating using only tactical callsigns (e.g., “Home Base to Mobile 1”) rather than personal names. This not only maintains a professional net but also protects your family’s privacy on open frequencies. Finally, commit to a 24-Hour Trial once a year. Run your home communications entirely off-grid. You will quickly find the “weak links”—whether it’s a cable that doesn’t fit, a battery that no longer holds a charge, or a logic gap in your check-in schedule.
Pro Tips
WAVEGUIDE™ Pro-Tip: Don’t forget the “Low-Tech” backup. A high-decibel whistle and a signal mirror should be clipped to every radio’s belt clip. Sometimes the best comms are the ones that don’t require a battery.